Archives: Moteus

Dealing with stator magnetic saturation

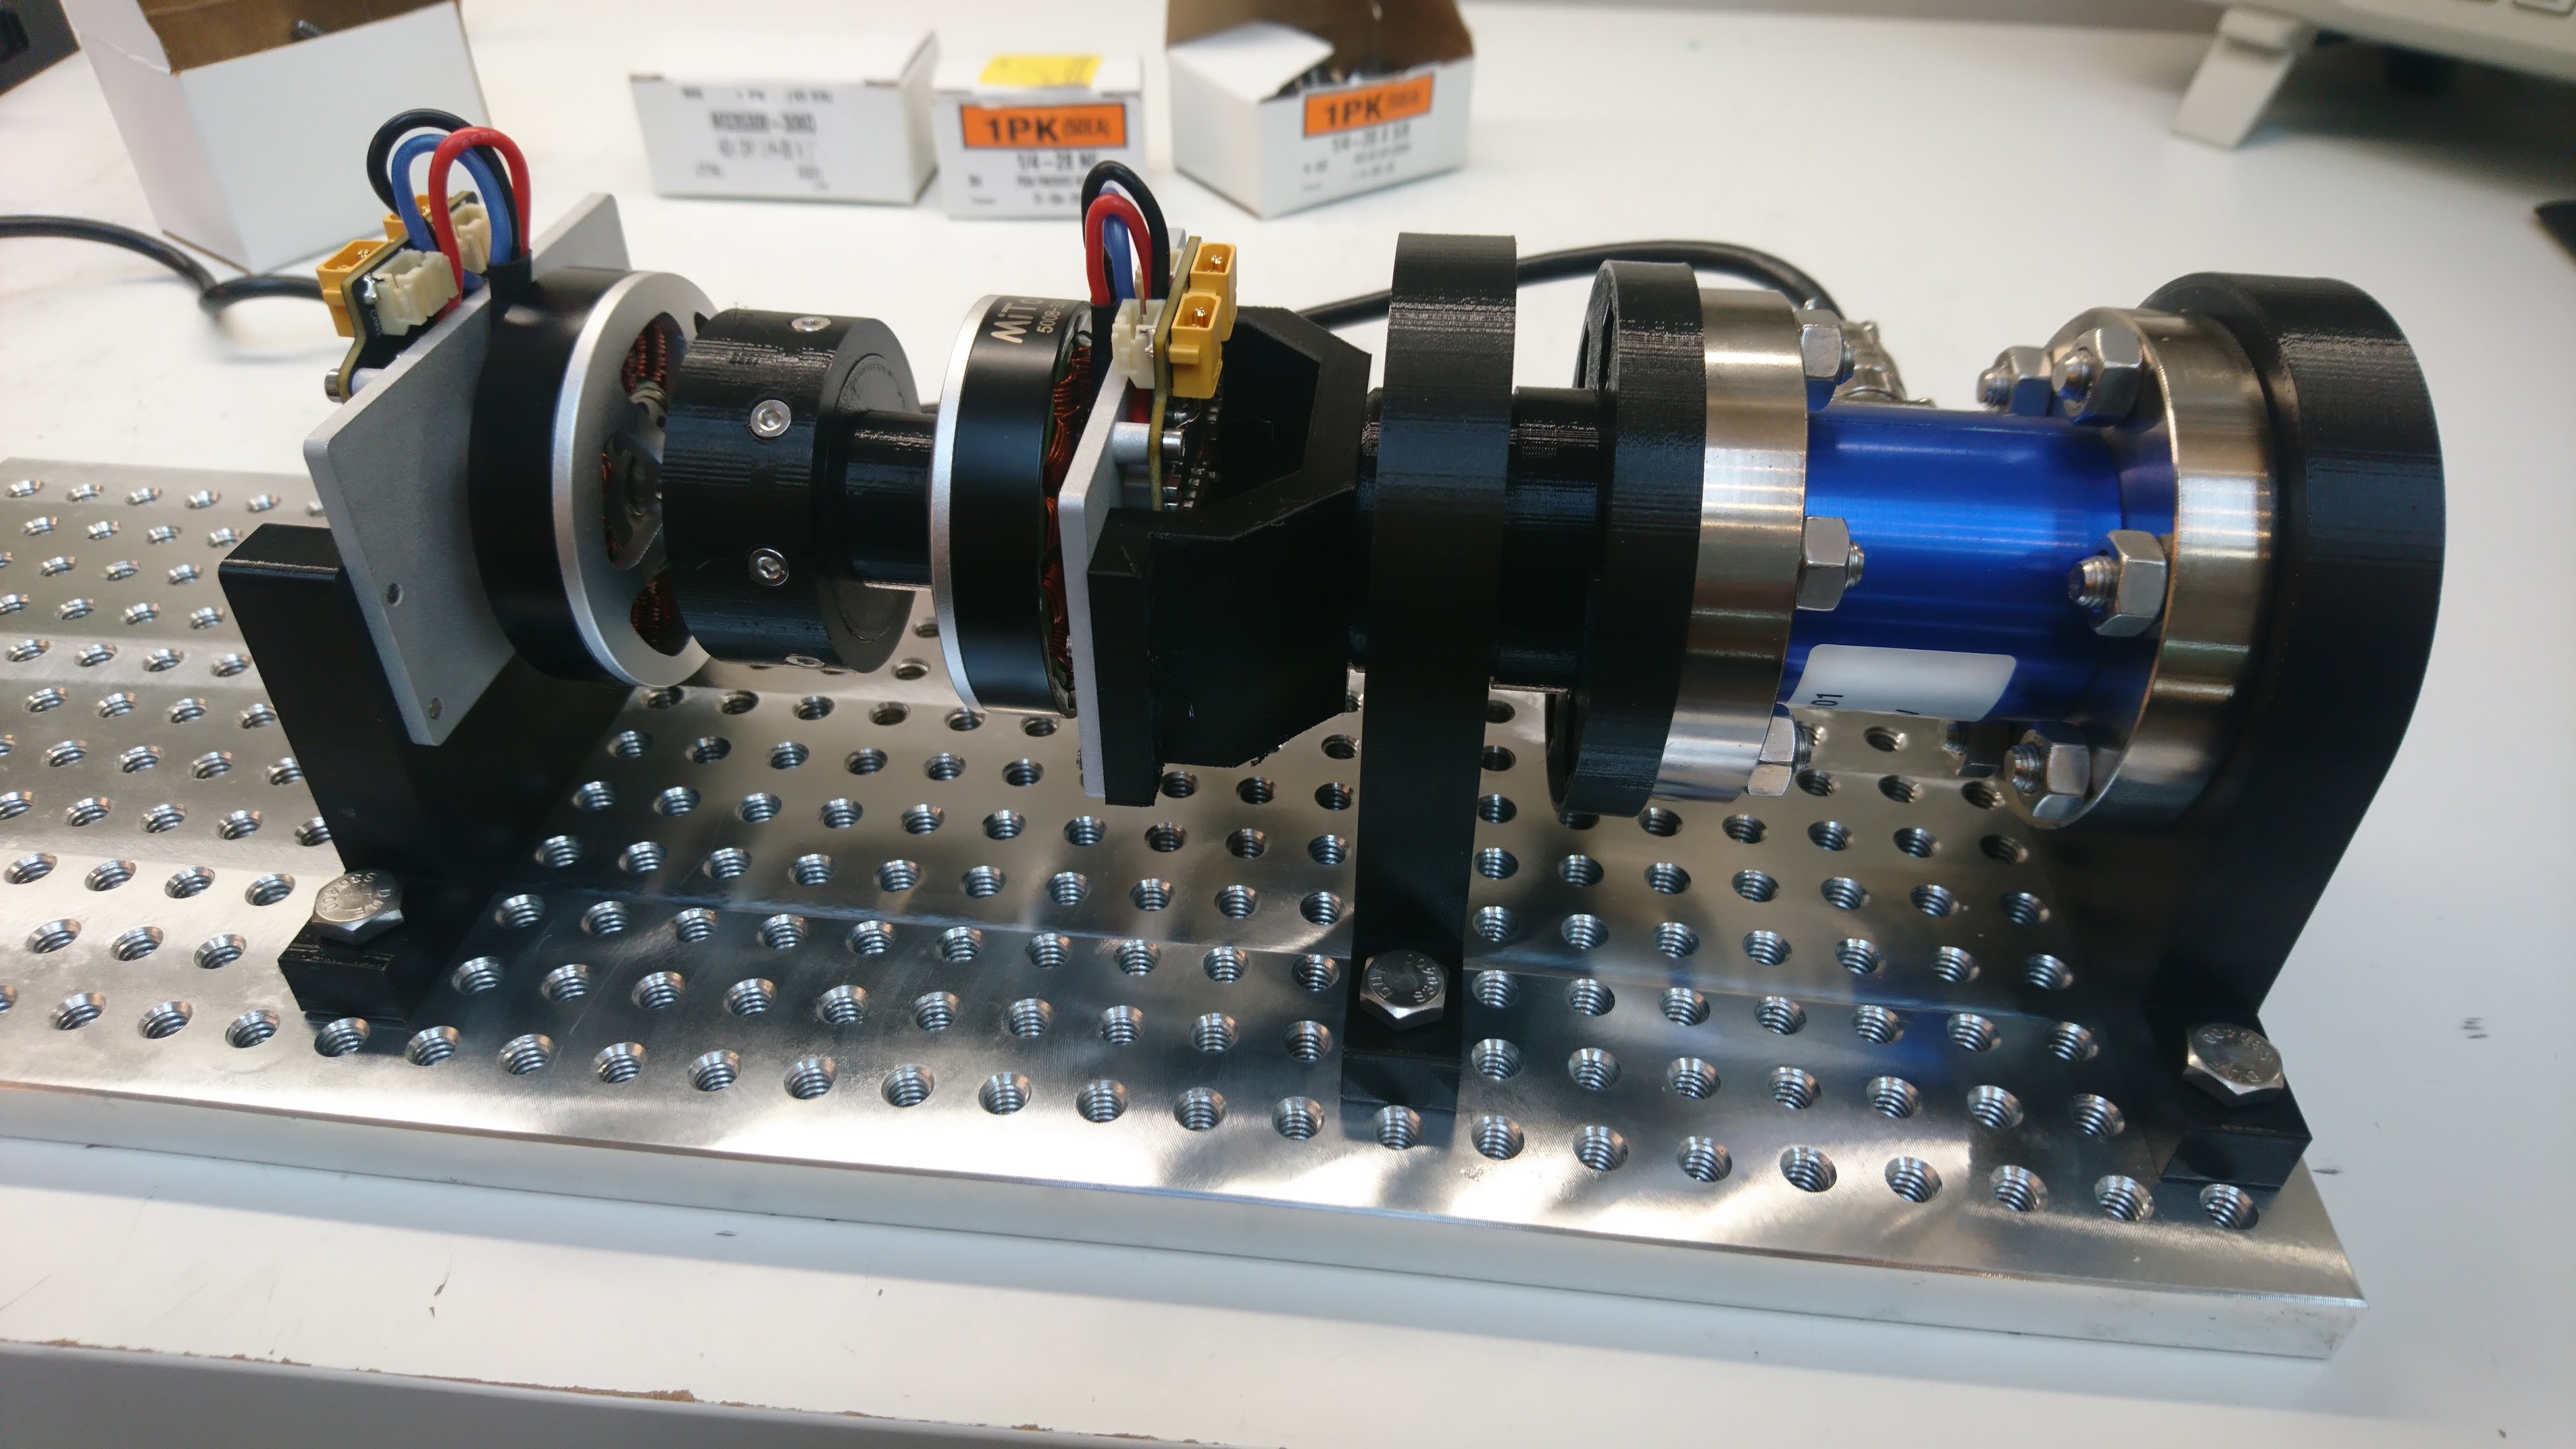
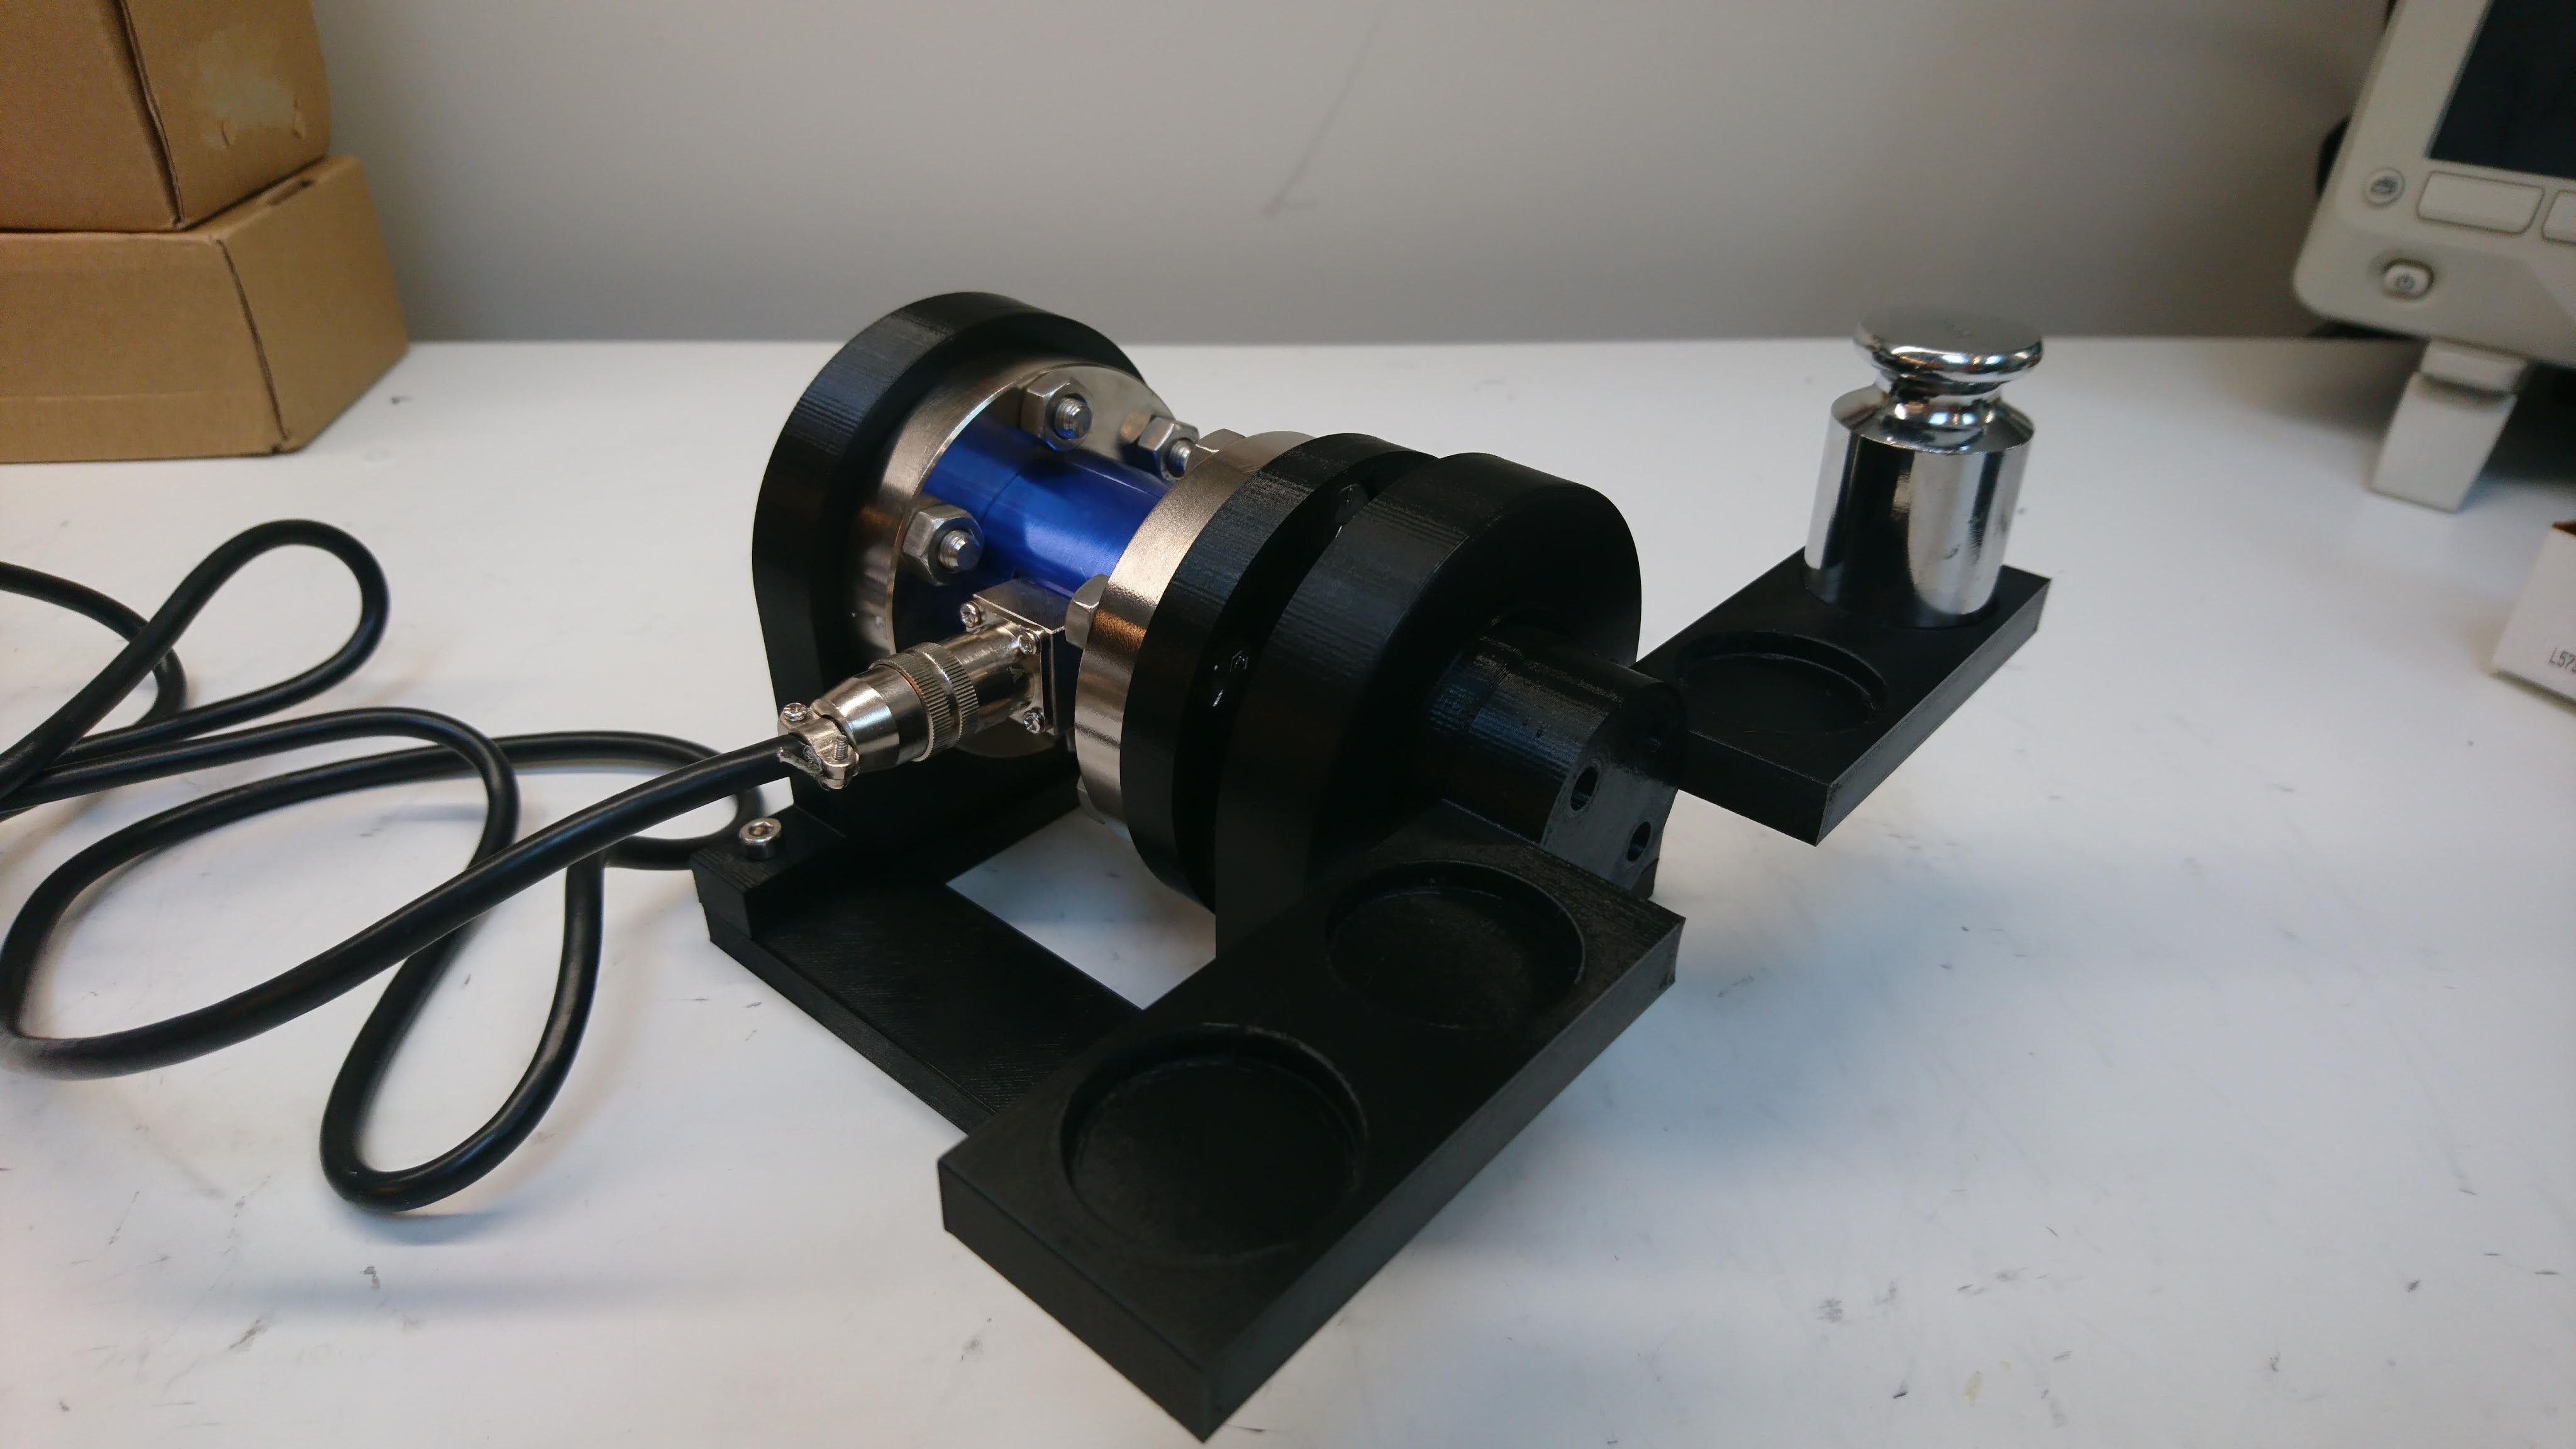
In my previous experiments demonstrating torque feedback (full rate inverse dynamics, ground truth torque testing), I’ve glossed over the fact that as the stator approaches magnetic saturation, the linear relationship between torque and current breaks down. Now finally I’ll take at least one step towards allowing moteus to accurately work in the torque domain as motors reach saturation.

Background

The stator in a rotor consists of windings wrapped around usually an iron core. The iron in the core consists of lots of little sub-domains of magnetized material, that normally are randomly oriented resulting in a net zero magnetic field. As current is applied to the windings, those domains line up, greatly magnifying the resulting magnetic field. Eventually most of the sub-domains are aligned, at which point you don’t get any more magnifying effect from the iron core. In this region, the stator is said to be “saturated”. You can read about it in much more depth on wikipedia or with even more detail here. The end result is a curve of magnetic field versus applied current that looks something like this:

Testing qdd100 stator windings

My initial design torque for the qdd100 was a little over 17 Nm. However, when I did my first ground truth torque testing, I found that some servos had a lower maximum torque than I had specified. While working to diagnose those, I built a qdd100 that used an alternate stator winding of 105Kv instead of the 135Kv that are in all the beta units. The Kv rating of a stator describes how fast the motor will spin for a given applied voltage. If you assume the same amount of copper mass of wiring, a lower Kv will mean that there are thinner wires that wrap around the stator more turns (or fewer wires in parallel). A higher Kv will have thicker wires with fewer overall turns.

micro-BOM management

I’ve now built 3 or 4 complete quad A1 style robots depending upon how you look at it. Each was somewhat of a one-off, incrementally modified over time as I discovered failure modes and improved the design. Before starting to serially build quad A1 style robots, I wanted to get a better understanding of how much actually goes into making one. The quad A1 has a fair number of sub-assemblies, custom PCBs, harnesses, and assembly steps that go into its production. During previous builds, I kept running into problems where I would run out of some component, fastener, or raw material unexpectedly, then have to wait for its lead time before I could continue.

High speeds with the moteus controller

Someone contacted me not too long ago who wanted to use the moteus controller, but wasn’t sure if it would be able to hit their target mechanical velocity of 6000rpm. I honestly wasn’t either, so I tested it. After a quick firmware fix, the devkit motor when run at 34V seems to be able to do it no problem.

It should be noted that the current firmware assumes you are within a thousand or so revolutions of 0. You can exceed that pretty quickly running at 120 revolutions per second!

mjbots Monday: New lower prices

One of my goals with mjbots is to make building dynamic robots more accessible to researchers and enthusiasts everywhere. To make that more of a reality, I’m lowering the prices in a big way on the foundational components of brushless robotic systems, the moteus controller and qdd100 servo.

Old New
moteus r4.3 controller $119 $79
moteus r4.3 devkit $199 $159
qdd100 beta $549 $429
qdd100 beta devkit $599 $469

Don’t worry, if you purchased any of these in the last month, you should be getting a coupon in your email equivalent to the difference.

Cartesian leg PD controller

As I am working to improve the gaits of the mjbots quad A1, one aspect I’ve wanted to tackle for a long time is improving the compliance characteristics of the whole robot. Here’s a small step in that direction.

Existing compliance strategy

The quad A1 uses qdd100 servos for each of its joints. The “qdd” in qdd100 stands for “quasi direct drive”. In a quasi direct drive actuator, a low gearing ratio is used, typically less than 10 to 1, which minimizes the amount of backlash and reflected inertia as observed at the output. Then, high rate electronic control of torque in the servo based on current and position feedback allows for dynamic manipulation of the spring and dampening of the resulting system.

New mjbots.com

https://shop.mjbots.com is now https://mjbots.com (don’t worry, the old site redirects)! The functionality is largely the same, you can still get your qdd100 actuators or moteus controllers. The biggest differences are 1) it looks slightly nicer, and 2) shipping rates are improved, and international shipping rates drastically so. For instance, DHL “Express” 2 day shipping to some points in Europe is now under $35 USD, whereas previously 2 day shipping was over $300. That is often cheaper than even USPS International Priority – which is typically 2-4 weeks.

Updated serialization library (diagnostics part 1)

Now that I have the qdd100 servo in beta phase, the IMU working at full rate, and the quad A1 is moving around I’m getting closer to actually working to improve the gaits that the machine can execute.  To date, the gaits I have used completely ignore the IMU and only use the feedback from the joints in order to maintain force in 3D.  With tuning and on controlled surfaces this can work well, but if you go outside the happy regime, then it can undergo significant pitch and roll movements during the leg swing phase, which at best results in a janky walk, and at worst results in oscillation or outright instability.

More MLCC learning

It seems that I’m learning much about PCB design the very hard way.  Back last year I wrote up my discovery of MLCC bias derating.  Now I’ll share some of my experiences with MLCC cracking on the first production moteus controllers.

When I was first putting the production moteus controllers through their test and programming sequence, I observed a failure mode that I had yet to have observe in my career (which admittedly doesn’t include much board manufacturing).  When applying voltage, I got a spark and puff of magic smoke from near one of the DC link capacitors on the left hand side.  In the first batch of 40 I programmed, a full 20% failed in this way, some at 24V, and a few more at a 38V test.  I initially thought the problem might have been an etching issue resulting in voltage breakdown between a via and an internal ground plane, but after examining the results under the microscope and conferring with MacroFab determined the most likely cause was cracking of the MLCCs during PCB depanelization.